Introduction
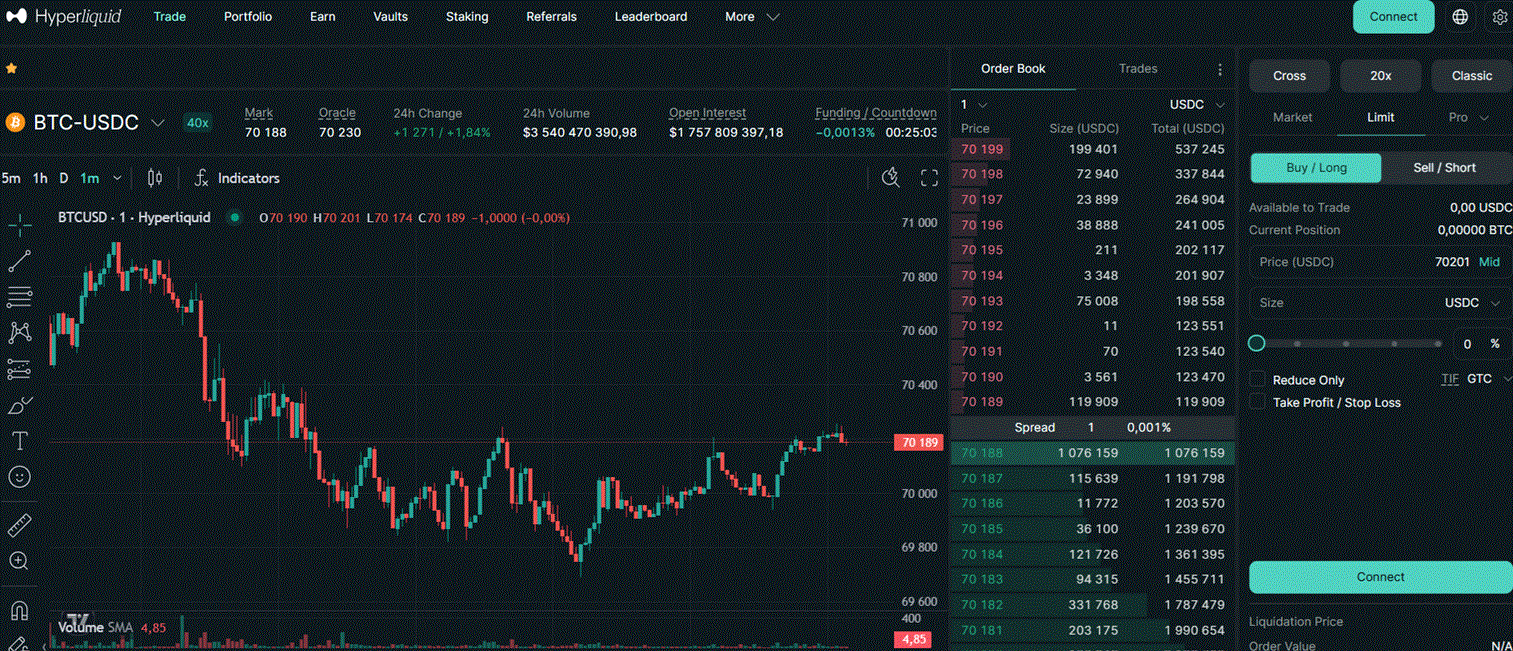
Hyperliquid is the dominant decentralised perpetual exchange in 2026, handling over $35 billion in weekly volume and running its own Layer 1 blockchain built specifically for trading. For algo traders, it is one of the most attractive DeFi venues available: a fully on-chain order book with latency and UX comparable to a centralised exchange, an open REST and WebSocket API, and an official Python SDK maintained by the Hyperliquid team.
This page covers everything you need to start building automated trading strategies on Hyperliquid — from account setup and authentication to placing orders and streaming live data.
Why Hyperliquid for Algo Trading
- On-chain order book — all orders, fills and liquidations are recorded on-chain, giving you a fully auditable and transparent trading environment
- Fast execution — the Hyperliquid L1 processes orders in milliseconds, closer to a centralised exchange than most DeFi platforms
- No gas fees on trades — trading is free; you only pay exchange fees on fills (0.02% maker / 0.05% taker at standard tier)
- Open API with official Python SDK — REST and WebSocket, well-documented, actively maintained
- Testnet available — a full testnet environment lets you test your strategy with paper money before going live
- 100+ markets — perpetuals on crypto, forex and commodities
What You Need to Get Started
- A Hyperliquid account (connect an Ethereum-compatible wallet at app.hyperliquid.xyz)
- An API wallet (a separate key that trades on behalf of your main account — explained below)
- Python 3.9+ with the Hyperliquid SDK installed
- USDC on Hyperliquid as collateral (bridge from Arbitrum or deposit directly)
Step 1 — Create an API Wallet
Hyperliquid uses a delegation model for API access. Instead of exposing your main wallet’s private key in your trading script, you create a separate API wallet — a secondary key that has permission to trade on your account but cannot withdraw funds.
How to set it up:
- Go to app.hyperliquid.xyz/API
- Enter your main wallet address and click Generate — this creates a new API wallet keypair
- Click Authorize API Wallet and sign with your main wallet to grant trading permissions
- Set a validity period (up to 180 days) and save the generated private key securely
- Store the API wallet private key in a
.envfile — never hardcode it in your script
# .env
HL_PRIVATE_KEY=0xabc123...   # API wallet private key
HL_ACCOUNT=0xdef456...        # Your main wallet address
Step 2 — Install the Python SDK
pip install hyperliquid-python-sdk
The SDK wraps both the REST API and WebSocket, handling authentication and request signing automatically.
Step 3 — Connect and Place Your First Order
import os
from dotenv import load_dotenv
from hyperliquid.exchange import Exchange
from hyperliquid.info import Info
from hyperliquid.utils import constants
import eth_account

load_dotenv()

# Set up wallet and clients
private_key = os.getenv("HL_PRIVATE_KEY")
account_address = os.getenv("HL_ACCOUNT")

wallet = eth_account.Account.from_key(private_key)

# Info client — read-only, no auth needed
info = Info(constants.MAINNET_API_URL)

# Exchange client — for placing orders
exchange = Exchange(
    wallet,
    constants.MAINNET_API_URL,
    account_address=account_address,
)

# --- Fetch account state ---
user_state = info.user_state(account_address)
print(f"Account value: {user_state['marginSummary']['accountValue']} USD")

# --- Fetch current BTC price ---
mids = info.all_mids()
btc_price = float(mids["BTC"])
print(f"BTC mid price: {btc_price:.2f}")

# --- Place a limit buy order ---
# Buy 0.001 BTC at 1% below current price
limit_price = round(btc_price * 0.99, 1)

result = exchange.order(
    "BTC",           # coin
    is_buy=True,     # True = buy, False = sell
    sz=0.001,        # size in BTC
    limit_px=limit_price,
    order_type={"limit": {"tif": "Gtc"}},  # Good-till-cancelled
)
print(f"Order result: {result}")
Step 4 — Stream Real-Time Prices via WebSocket
import asyncio
from hyperliquid.utils import constants
from hyperliquid.websocket_manager import WebsocketManager

def handle_message(msg):
    """Called every time a price update arrives."""
    if msg.get("channel") == "allMids":
        mids = msg["data"]["mids"]
        for coin in ["BTC", "ETH", "SOL"]:
            if coin in mids:
                print(f"{coin}: {float(mids[coin]):.2f}")

async def main():
    ws = WebsocketManager(constants.MAINNET_API_URL)
    await ws.subscribe({"type": "allMids"}, handle_message)
    await asyncio.sleep(60)  # Stream for 60 seconds

asyncio.run(main())
For order book depth and individual trade data, subscribe to "l2Book" (with coin parameter) and "trades" channels respectively.
Step 5 — Fetch Historical Candles
import time
import requests

def fetch_candles(coin: str, interval: str, days: int) -> list:
    """
    Fetch OHLCV candles from Hyperliquid.
    interval: "5m", "15m", "1h", "4h", "1d"
    """
    now_ms = int(time.time() * 1000)
    start_ms = now_ms - days * 24 * 60 * 60 * 1000

    payload = {
        "type": "candleSnapshot",
        "req": {
            "coin": coin,
            "interval": interval,
            "startTime": start_ms,
            "endTime": now_ms,
        }
    }
    r = requests.post("https://api.hyperliquid.xyz/info", json=payload, timeout=10)
    r.raise_for_status()
    return r.json()

candles = fetch_candles("BTC", "1h", days=30)
print(f"Fetched {len(candles)} candles")
for c in candles[-3:]:
    print(f"  {c['t']}  O:{c['o']}  H:{c['h']}  L:{c['l']}  C:{c['c']}  V:{c['v']}")
Testing on Testnet
Before running any strategy with real money, use the Hyperliquid testnet:
- Testnet URL:
https://api.hyperliquid-testnet.xyz - Testnet app: app.hyperliquid-testnet.xyz
- Get free testnet USDC from the faucet at the testnet app
- In the SDK, replace
constants.MAINNET_API_URLwithconstants.TESTNET_API_URL
The testnet is a full replica of mainnet — all order types, all markets, real WebSocket feeds with simulated prices.
Rate Limits
Hyperliquid’s rate limiting is based on trading volume rather than request count. Each address starts with a buffer of 10,000 requests. The limit scales with cumulative trading volume — roughly 1 additional request allowed per 1 USDC traded.
For most algo strategies, this is generous. If you hit limits, the solution is to increase fill volume or consolidate API calls (e.g. fetch multiple assets in one request rather than individually).
REST read endpoints (info calls) are more permissive than order endpoints.
Hyperliquid API Quick Reference
| Action | Method | Endpoint / SDK Call |
|---|---|---|
| Get all mid prices | REST POST | /info — type: ”allMids” |
| Get candles | REST POST | /info — type: ”candleSnapshot” |
| Get user state / positions | REST POST | /info — type: ”clearinghouseState” |
| Get funding rates | REST POST | /info — type: ”fundingHistory” |
| Place order | SDK | exchange.order(coin, is_buy, sz, limit_px, …) |
| Cancel order | SDK | exchange.cancel(coin, oid) |
| Close position | SDK | exchange.market_close(coin) |
| Stream live prices | WebSocket | subscribe type: ”allMids” |
| Stream order book | WebSocket | subscribe type: ”l2Book” + coin |
| Stream user fills | WebSocket | subscribe type: ”userFills” |
Key Takeaways
- Hyperliquid offers a fully on-chain order book with API performance comparable to a centralised exchange
- Authentication uses an API wallet (delegated key) — your main wallet private key never goes in your trading script
- The official Python SDK (
hyperliquid-python-sdk) handles signing, REST and WebSocket with a clean interface - A full testnet is available — always test there before going live
- No gas fees on trades; fees are 0.02% maker / 0.05% taker at standard tier
Useful Links
- Hyperliquid API Documentation
- Official Python SDK — GitHub
- Python SDK on PyPI
- API Key Setup — Hyperliquid App
- Testnet App
- Rate Limits Documentation
For a general introduction to algo trading concepts and strategy design, see our Algorithmic Trading guide. For building a full data pipeline with TimescaleDB and WebSocket feeds, see our Build Your Own Trading Application page.